Two years ago I posted about my studio basement. After being pregnant, moving my invitation and design materials down into the basement from the spare bedroom to make room for the nursery, and having a baby, we finally got around to finishing the basement floors! You will see from the before photos that the floors were a dingy gray with paint splatters. I looked all over the Internet and Pinterest for inspiration and found something that caught my eye. I stumbled upon this cement floor painted to look like dark hardwood floors from TwentySixFiftyEight.

Our house was built in 1930 so the basement floor is very uneven and we wanted to do a paint technique that covered up the flaws of the floor. It is so uneven that another type of floor covering wouldn't work. We decided tot try the technique from above but with lighter brown colors. On a Friday night in January, Gino and I rolled up our sleeves when Luke went to bed, got some Corona Lights, and got down to floor painting business! It took us about 4 hours to complete and it really wasn't as hard as we expected. I am so happy with the results and we now have a clean, organized basement that we can actually spend some time working in. There are a lot of additional things to finish like covering the area under the stairs, repainting the stairs, touching up the walls, painting the celling, finishing the top shelf above the desk, and more random finishing touches. For now, we are very pleased with the outcome and it was just under $80 for the whole project.


Here is the cost breakdown and step-by-step instructions.
Tools
- 2 Cans Valspar Latex Floor & Porch Satin Paint (2 colors, dark & light) = 2@$25.98
- Purdy Wall Weaver Brush = @$12.48
- 6" Stucco Decks & Masonry Paint Roller = $5.28
Total = $69.72 + tax


You will notice a Graining Tool in the picture above and we got the idea to use this tool from the blog inspiration in the beginning of the post but it DID NOT WORK! I was a little disappointed but I think the Purdy Wall Weaver Brush actually create a better effect in the end. It might work on a very smooth and flat surface but this tool didn't work at all on our floor.
Step 1:
- Clean the floor thoroughly. We swept a few times because our basement is very dusty from underneath the house.
- Some floors may need sanding or priming but we were going for a naturally flawed effect and didn't mind if any of the gray floor showed through so we didn't do any other prep work.

Step 2:
- Start in one corner of the room and roll a 6" wide "plank" with the darker base color to the desired length. We made all our "planks" different lengths so that we had flexibility and so that the floor looked a little more organic and rustic. The reason we used a thick nap stucco roller was so that the paint would get into all the little cracks and crevasses on our floor. If you have a smooth floor, any roller would do.


Step 3:
- Dip the 6" Purdy Wall Weaver Brush lightly in the lighter color paint and gently brush the top of the "plank" blending the colors to the desired effect. We had a few planks were we blended too much and it looked like a very blended light brown color, so be careful not to over brush.

Step 4:
- For the second row, make the next plank a different length than the first row so that the floor boards look alternating. We didn't outline anything or draw any type of pattern, we just continued to make different lengths as we went along.
- The lines between the planks are an effect created by brushing mainly in the center of the plank and not blending the top color all the way to the edge of the 6" plank. When you start the brushing, just keep a little space at the top and sides of each plank.


Step 5:
- Repeat. We were lucky enough to end with an almost exact 6" plank on the other side of the room so it worked out well for our space. It might be worth measuring before you begin.
The finished room without touch up on the side base wall.


Details
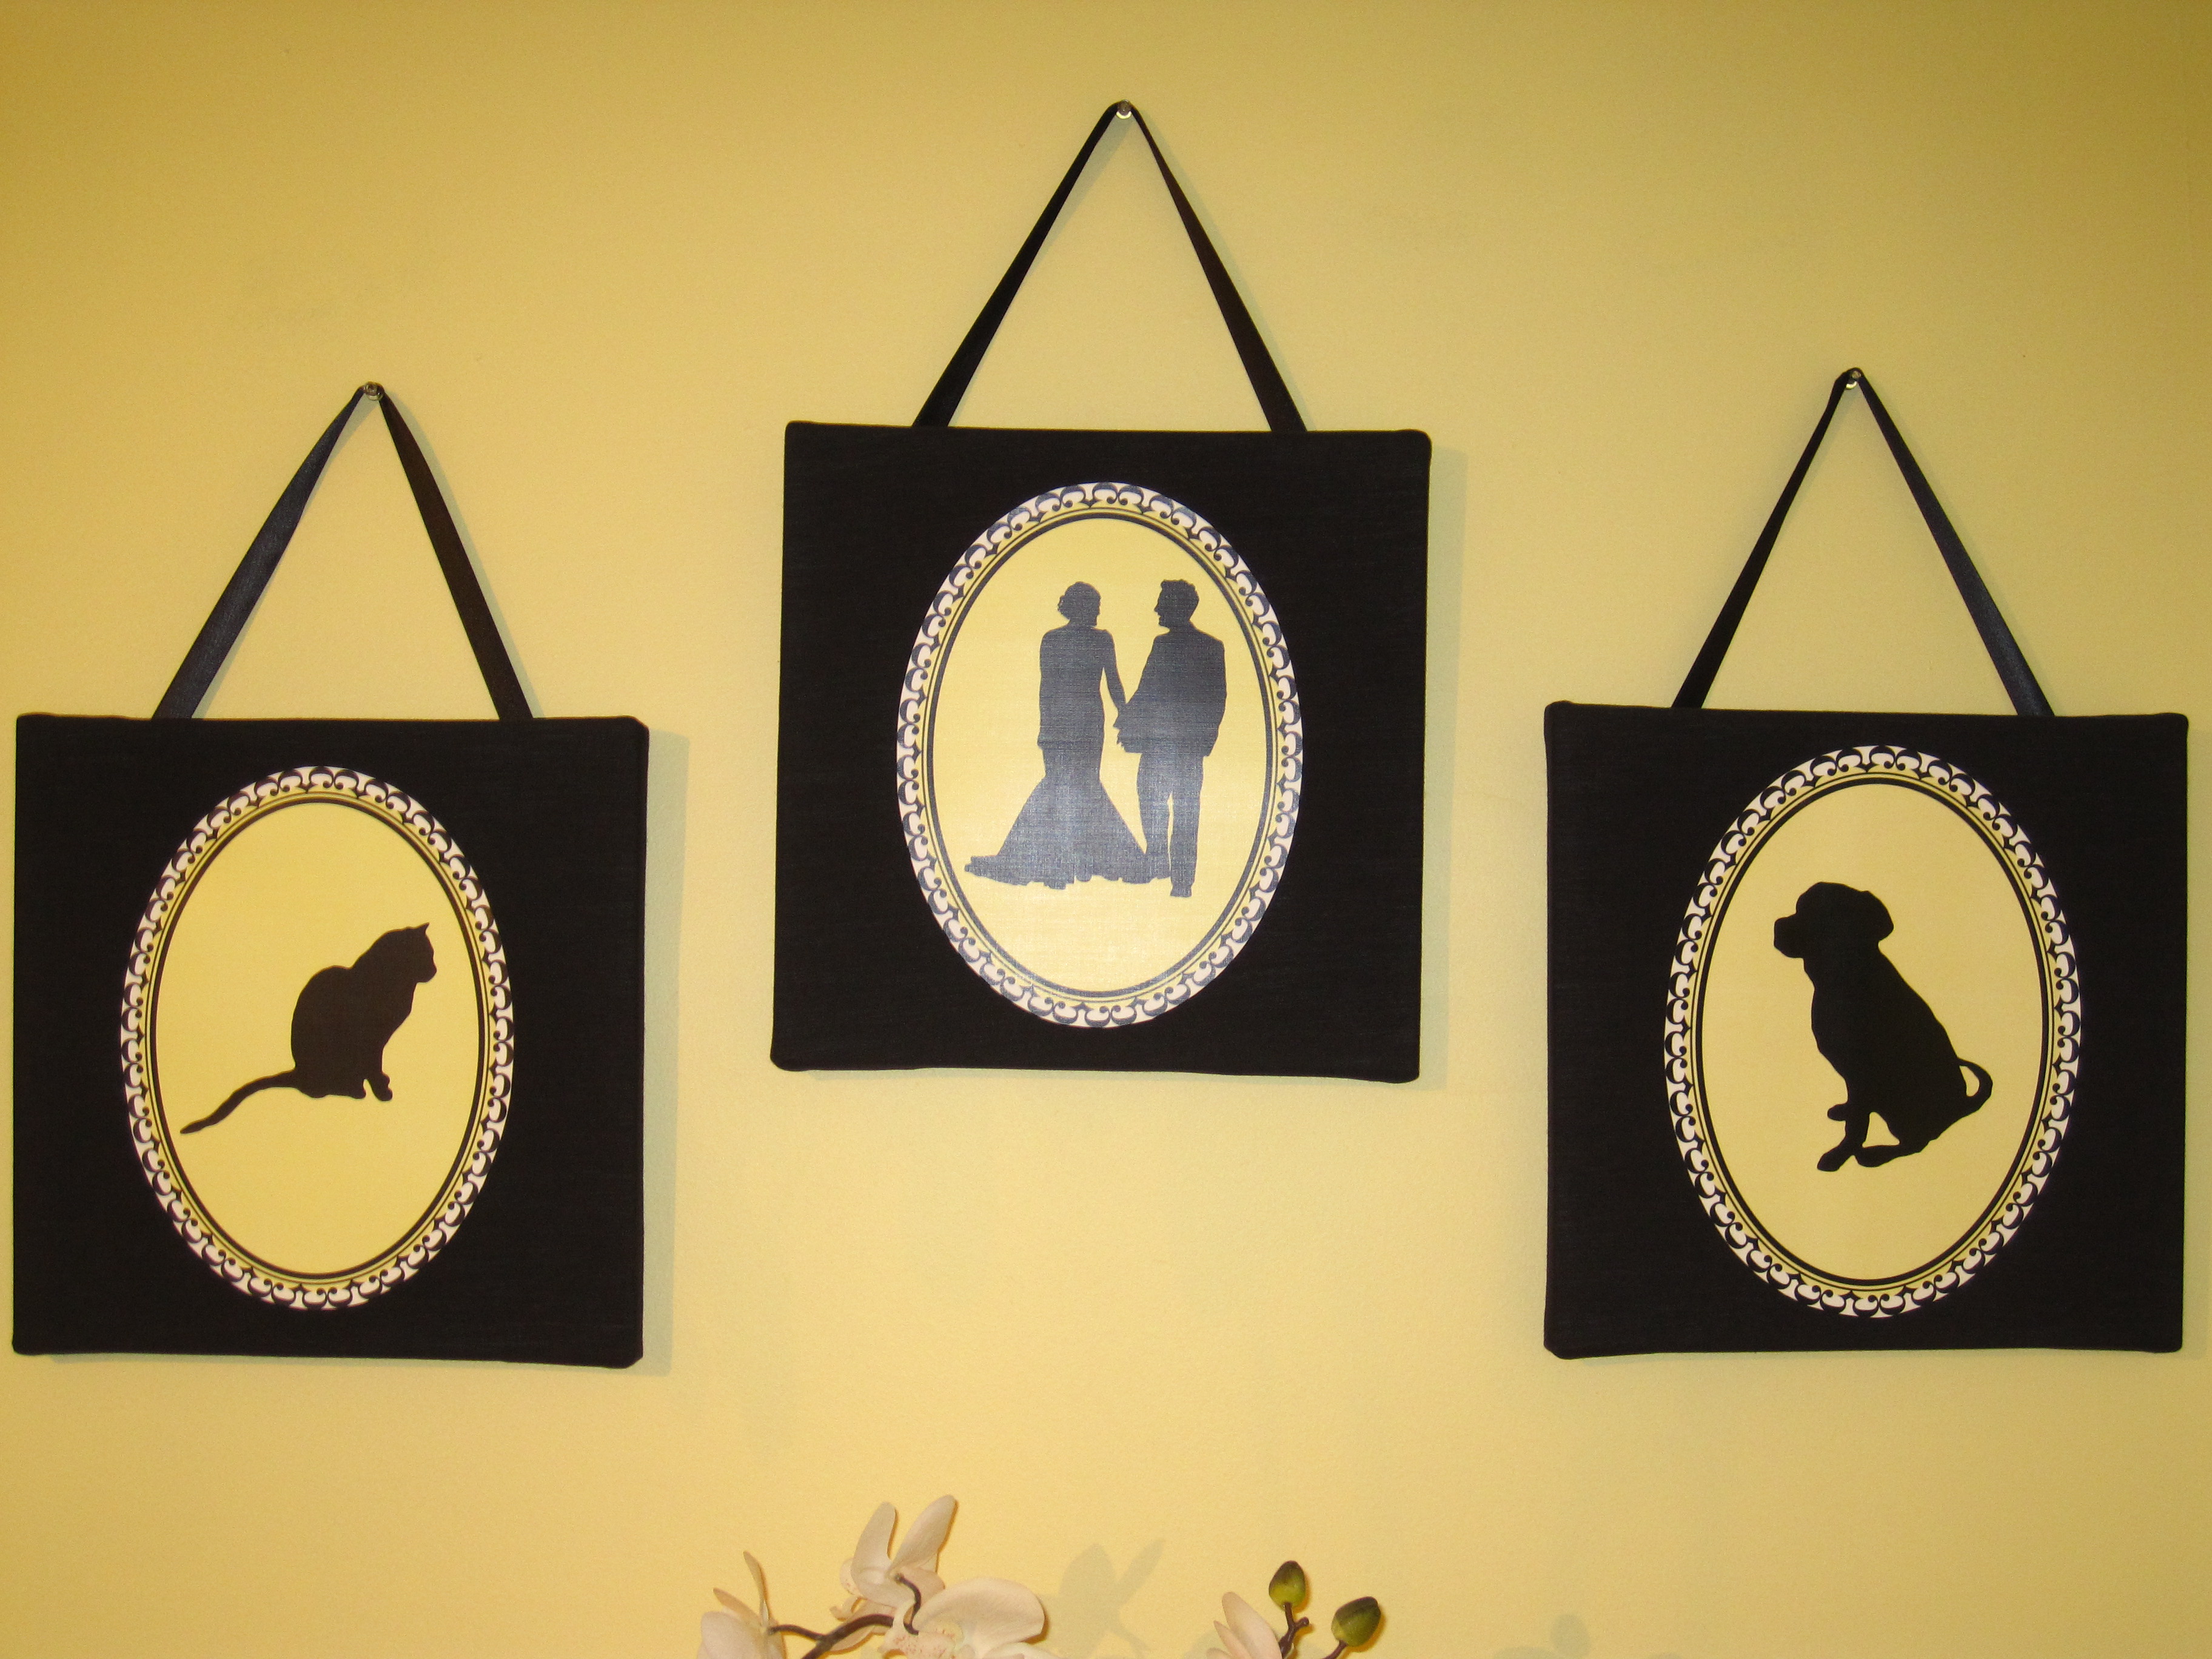
Still have a place for our family silhouettes but need to add one more for Luke!
Recent Projects
If you have any questions about this project or any of the studio items, feel free to send me an email!