Showing posts with label decor. Show all posts

8.08.2012

New Inspiration

Well hello there old friend. My little blog, oh how I have missed you. So much that you don't even show up on my top sites screen anymore. It was so interesting to see the most recent traffic stats though, somehow people are still stumbling onto my blog and the numbers are still up (I used to check regularly and probably haven't looked in over 5 months!).

What can I say, life, the job, and family have kept me very pre-occupied lately. I have drifted away from a lot of my side work, special projects, and design that I desperately want to continue, there's just not enough time in the day it seems!

I have been searching for balance, new inspiration, and a more leveled out schedule. I am happy to say that I am getting there. I took for granted the level of comfort and experience I had in my previous job at the Network, one which I felt pretty good about my ability to do. I quickly learned that not knowing what you are doing in a new job equals being uncomfortable and challenged, but now after almost 5 months, things are starting to shake out and I am feeling a bit more confident in what I am doing =)

Over the past few months, a lot of my "fun" time went away. My family time is always fun but this is a different kind of fun time, more like creative me time. It was blogging, house projects, photography, learning to sew, designing, and trying to get an Etsy shop going (it's gonna happen someday, mark my words). I am slowly figuring out how to get my "fun" time back =). On top of that, working out has quietly slipped back into my schedule thanks to an awesome birthday gift from the hubby, yoga classes for 3 months at my favorite yoga studio, Padme Yoga Center.

Anyway, along the idea of looking for new inspiration, I decided that the chalkboard we have hanging in our kitchen needed a little pick me up.

IMG_4716

It is a really cute board we got at the Grass Valley Italian Festival last year, thank you Nancy! I love the traditional images but wanted to freshen it up with some images that would inspire us and make us smile as we walked by on our way out the door for work each morning. Thanks to Pinterest, it was easy to find a few photos I like and this quote, "Welcome to today. Another day, another chance. Feel free to change.". I just printed the images out the same size as the existing image and voila!

IMG_4736

Gino has been really supportive through all of our life changes, is always optimistic, and reminds me to stay positive and look at all the wonderful things we are blessed with. I want to be reminded every day to count our blessings and be glad! =)

IMG_4722

IMG_4735

That's all for now, thanks for stopping by and listening.
Sarah

10.17.2011

Bright and Cheerful Nursery

I finally got around to taking some photos of Luke's nursery. We originally had that room painted blue and were going to keep it blue regardless of if we had a girl or a boy. I wanted his room to be bright, cheerful, and fun. Gino had a lot of input and in the end it turned out just right!
View from the doorway.
5x7-nursery-photo1

7x5-nursery-photo7

Lots of books to read in a bookshelf from Ikea.
I made the curtains from Ikea fabric. Fast, easy, and no-sew required.
5x7-nursery-photo2

I made this mobile from scrapbook paper.
There are endless color and pattern combinations for any nursery. 
5x7-nursery-photo3

5x7-nursery-photo4

One of the various designs I created for the room.
5x7-nursery-photo5

Changing station and more personalized designs.
I used fabric left over from the curtains to cover the small drawer to the side of the dresser.
5x7-nursery-photo6

7x5-nursery-photo2

7x5-nursery-photo6

7x5-nursery-photo5

These Sesame Street Car toys were Gino's when he was a little boy. 
7x5-nursery-photo3

7x5-nursery-photo4

My talented sister knit this puff mama foot stool that matches with the room colors perfectly.
She followed this tutorial
7x5-nursery-photo8

Our nursery wasn't complete without Giants gear.
7x5-nursery-photo1

Luke already has a lot of stuffed animals and the teddy bear is actually Gino's childhood teddy bear, so sweet. 
Lukes-Nursery-3

We originally were going to get Gino's Mom's rocking chair but it was too big for the room so we went with a non-traditional style chair instead from Target (I don't think they have it anymore). 
Lukes-Nursery-1

The Cabbage Patch is an original from the 1980's that my Grandma saved.
I just love the old school toys. 
Lukes-Nursery-11

Lukes-Nursery-12

4.23.2010

Mission: Patio Makeover Part II

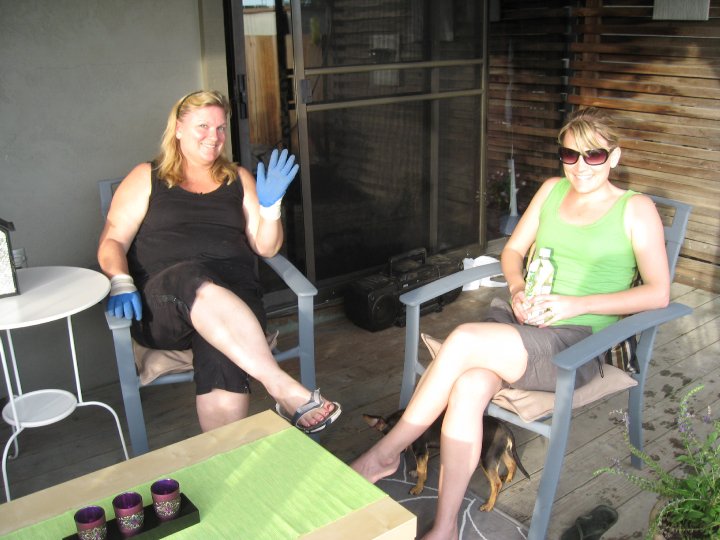
In my last post, Mission: Patio Makeover, I outlined the task I had last weekend for my Mom and Dad's patio. In one day with the help of my little worker bees (Haley and Heather my nieces) and my family, we finished the makeover. The whole weekend working in the yard was a lot of hard work but it was all well worth it. The yard is looking amazing and it will be the perfect backdrop for my sister and Paul's wedding in May. Beyond the patio, there were many other clean up and gardening projects happening but this post will focus on the patio. I will have future posts after the wedding to show how great the yard looks!


I spent most of last Friday running around between Ikea, Ross, Walmart, and Cost Plus to purchase everything I needed to complete the patio. I was able to stay within the budget of $200 after I went back between Ross and Ikea to return a few things. I started the morning out by cleaning up the patio area to create a clean space for decorating.


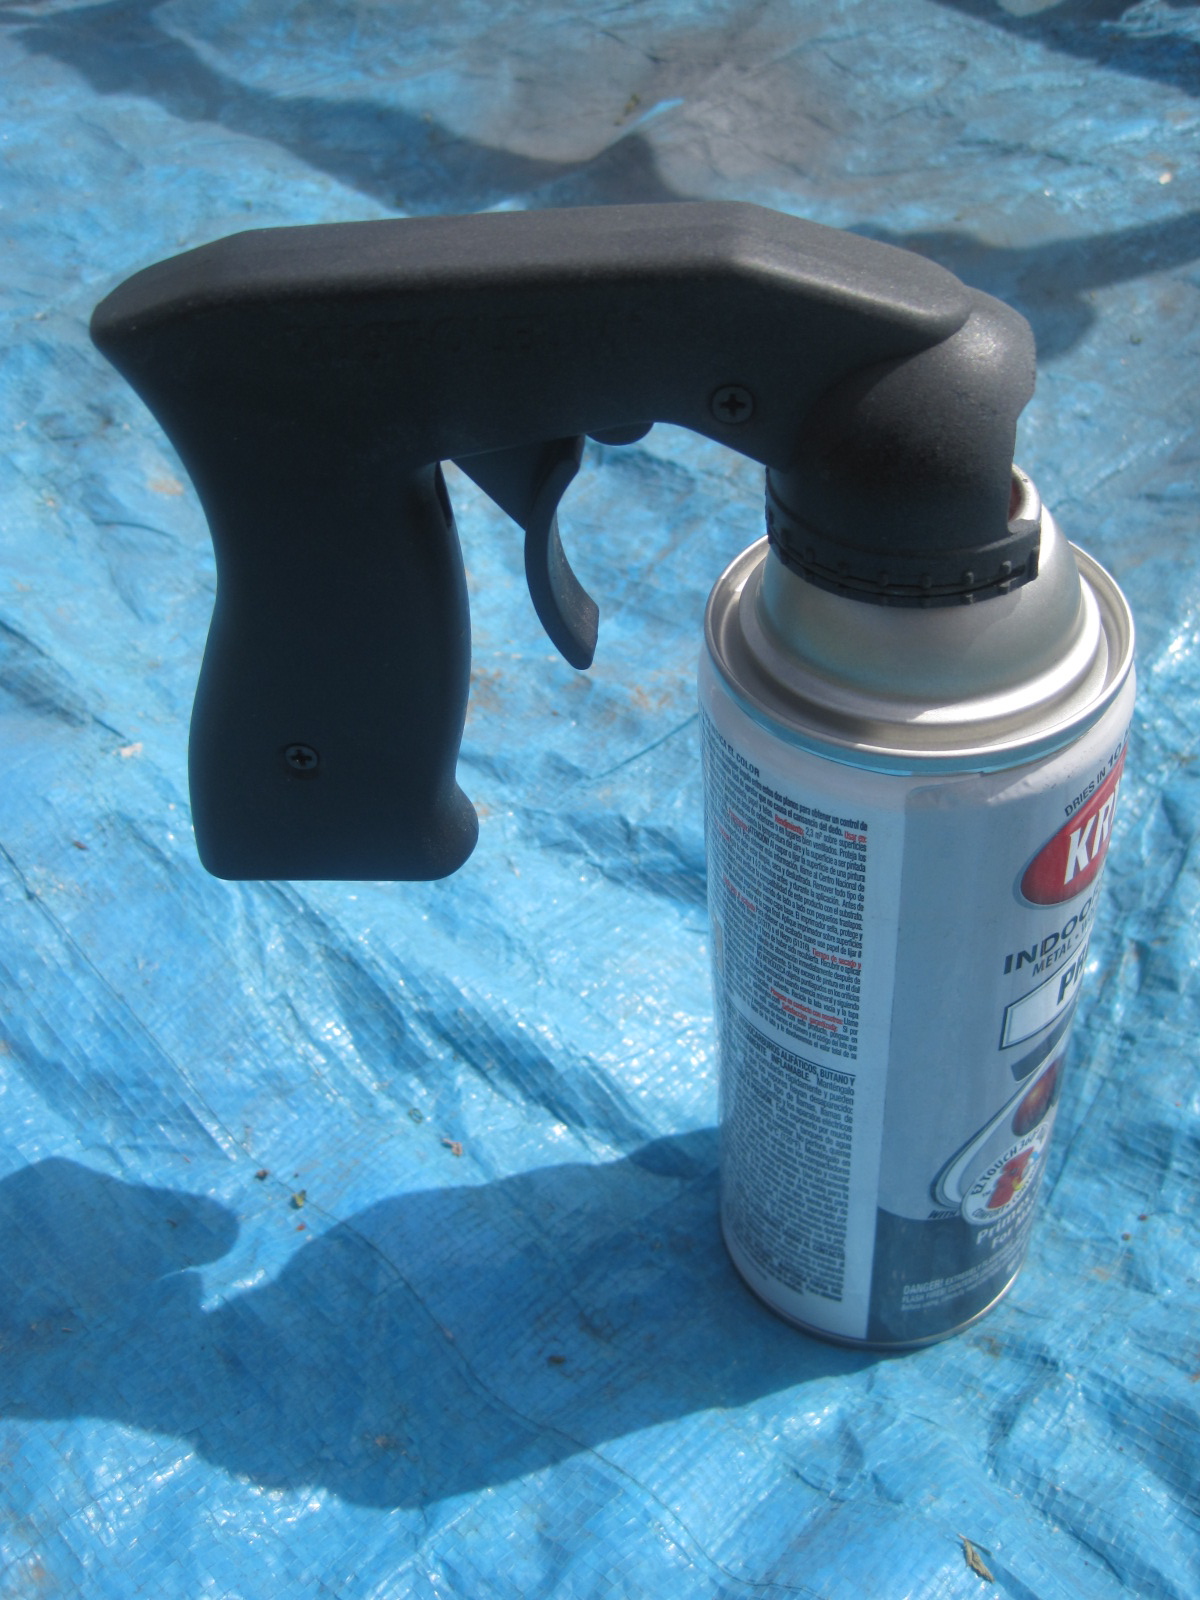
I purchased 7 cans of spray paint from Walmart along with a nifty spray grip device and spent a total of $23.72 with some paint left over.


Before


During


After


What a difference a little paint makes!


I've spray painted a few pieces of furniture in the past and have always hated the way it made my finger and forearm hurt afterwards. I will never spray paint again without one of these little guys. Well worth the $2.42.


I spent the majority of money on the rug, side table, and seat cushions from Ikea, hanging lights from Cost Plus, and pillows and a few decorative items from Ross. So, I had to get a little creative with the wood wall on the side of the patio. I had my Dad make me some wood frames that I later covered with some left over fabric I had at my house. I felt so "HGTV" asking my personal carpenter to build me something ;0) You will see later in the post what these were used for.


By this time, Gino was there to help me transfer some bright flowers into the pots for the patio.


The white plant holder was $6.99 from Ross and the other 2 were from around the yard.


Here is the complete patio after!


For the side wall I used the covered frames to hang a few buckets. The buckets can hold candles or fresh flowers and we tested the candles out at night, they worked lovely! It's a little rustic and I had to be resourceful but at least it is something =)


Here are a few photos at night all lit up.


Cost Break Down

Ikea

White side table = $19.99 / Rug = $19.99 / Green table runner = $4.99  / 4 seat cushions and covers = $10 each + Tax

Walmart

7 cans of spray paint = $2.77 each / Spray grip = $2.42 + Tax

Ross

Decorative Lantern = $6.99 / White plant holder = $6.99 / Candles on table = $4.99 / 4 decorative pillows = $7.99 each  + Tax

Cost Plus

2 strings hanging lanterns = $11.99 each + Tax

Dollar Store

Wind chimes, 2 black metal flowers, 2 lantern buckets = $5.00

The coffee table was a table we had from Ikea in our basement and were planning on selling it on craigslist. It was perfect for what the space needed so that was free.

Below are a few of my favorite pictures of some of the beautiful things fond in the yard.


And finally my lovely Mother enjoying a break on her new patio!

Related Posts Plugin for WordPress, Blogger...