5.22.2010

Real Wedding: Alexis + Michael

Early this year I had the pleasure of working with a bride, Alexis, who was planning a destination wedding to Mexico! I worked with her to create an elegant wedding invitation that used vibrant ocean and beach colors to give an exciting introduction to the guests and what they could expect from the wedding in Playa del Carmen. Often times a destination wedding takes a lot of the planning pressures off of the engaged couple so the invitations and programs were one of the only local products that Alexis worked with. You will see from the pictures, the gorgeous ocean and beach is all you need to create a beautiful backdrop for a perfect wedding day.

Date - March 4, 2010
Photographer - Juan Carlos Magallon
Alexis and Michael had many traditional Jewish elements in their wedding and we highlighted those marriage ceremony customs in her programs so the guests could follow along.
Beautiful Details
Ceremony
Mexico Sunset
All of these beautiful Mexico wedding photos are getting me so excited for an upcoming wedding that we get to attend in the same area of Mexico in July. We can't wait for your wedding Yarrow, get excited!

5.16.2010

Sunday @ the Sciandri's

I finished painting the railings on our deck today and I am quite happy with the way they turned out. Gino isn't sure about the lights underneath, so if you like them, let me know and together we will try to convince him to keep them!

I am also quite proud of my cute little cupcakes. I baked cupcakes to bring to work tomorrow for a co-workers birthday. I am not know for my baking skills so I did use store bought cupcake mix, but I think the aren't too shabby! I am not too fond of chocolate but I know other co-workers are, so I compromised and did vanilla cupcakes with chocolate frosting.


Wishing everyone a nice week. Oh, and Sam and Ponzo say hello!

5.14.2010

DIY: Photo Letter Collage

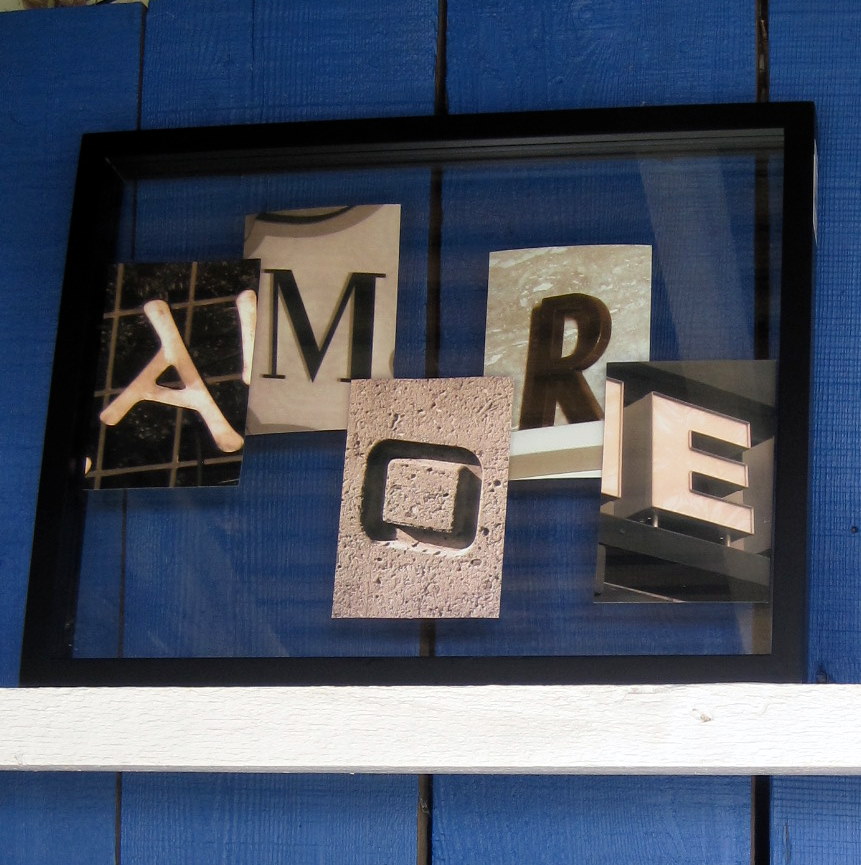
Last year for Christmas I drew my brother David's name for our sibling gift exchange. He was a little bit difficult to shop for so I decided to make him a photo collage with letters from his name and frame it. I took some photos of letters with dimension and style around town and cropped them to show just that letter of his name. I also wrote the location of where the photo was taken on the back.


Turns out he loved the gift and I got a request from my Brother-in-law for the same for his birthday. I was a little late on getting Paul's name collage to him by his birthday but I made sure I finished it in time for their wedding which was last weekend.  It is really easy to do if you follow these steps:

1. Try to think of either you favorite places to go or if you have an upcoming vacation somewhere cool and scout letters of either first or last names.  I have no plans to go on vacation anytime soon so I stuck to the downtown Sacramento area, which I love!

2. Look for letters that have dimension rather than flat printed letters. I find that letters made of neon signs, metal, or some sort of 3D effect look the best.

3. Crop the photos using any photo editing program so that each letter fills a 4x6 printed image. I also enhanced the images a little to bring out the various textures.

4. If you want, add a color affect like I did with sepia, or you can do black and white, vintage, color, or anything else your photo editing program can do.

5. Save the images and print them at home or at your local photo print location.

6. I picked up the photo frames from Target. Each were about $30 but you can probably find better photo frame deals online. For both of the collages, I used clear glass frames so that the photos had a floating effect. You can use a frame you already have, individual smaller frames for each letter, or frames with slots for multiple photos.

7. And finally hang your photo letter collage and Enjoy!

Paul and my sister Lynda have a very cool last name, Amore, which means love in Italian so the name was featured in various ways throughout their wedding and I was happy to know that the photo collage added a little special something to their day.


4.30.2010

Minted T-shirt Design Challenge

I submitted a few t-shirt designs for the Minted T-shirt Design Challenge on Facebook. Check them out and if you like any of them, click the "like" button on the photo in Minted's photo album or leave a comment. There is  $500 dollar prize and the final t-shirt selection will be printed as Minted's first t-shirt. Spread the word and vote!   Thanks =)

CUTE MINTED STREET SIGN


IDEAS + GOOD DESIGN = MINTED


I HEART MINTED


HELLO MY NAME IS MINTED


FRESH


FRESHEST DESIGNS ON PAPER


4.23.2010

Mission: Patio Makeover Part II

In my last post, Mission: Patio Makeover, I outlined the task I had last weekend for my Mom and Dad's patio. In one day with the help of my little worker bees (Haley and Heather my nieces) and my family, we finished the makeover. The whole weekend working in the yard was a lot of hard work but it was all well worth it. The yard is looking amazing and it will be the perfect backdrop for my sister and Paul's wedding in May. Beyond the patio, there were many other clean up and gardening projects happening but this post will focus on the patio. I will have future posts after the wedding to show how great the yard looks!


I spent most of last Friday running around between Ikea, Ross, Walmart, and Cost Plus to purchase everything I needed to complete the patio. I was able to stay within the budget of $200 after I went back between Ross and Ikea to return a few things. I started the morning out by cleaning up the patio area to create a clean space for decorating.


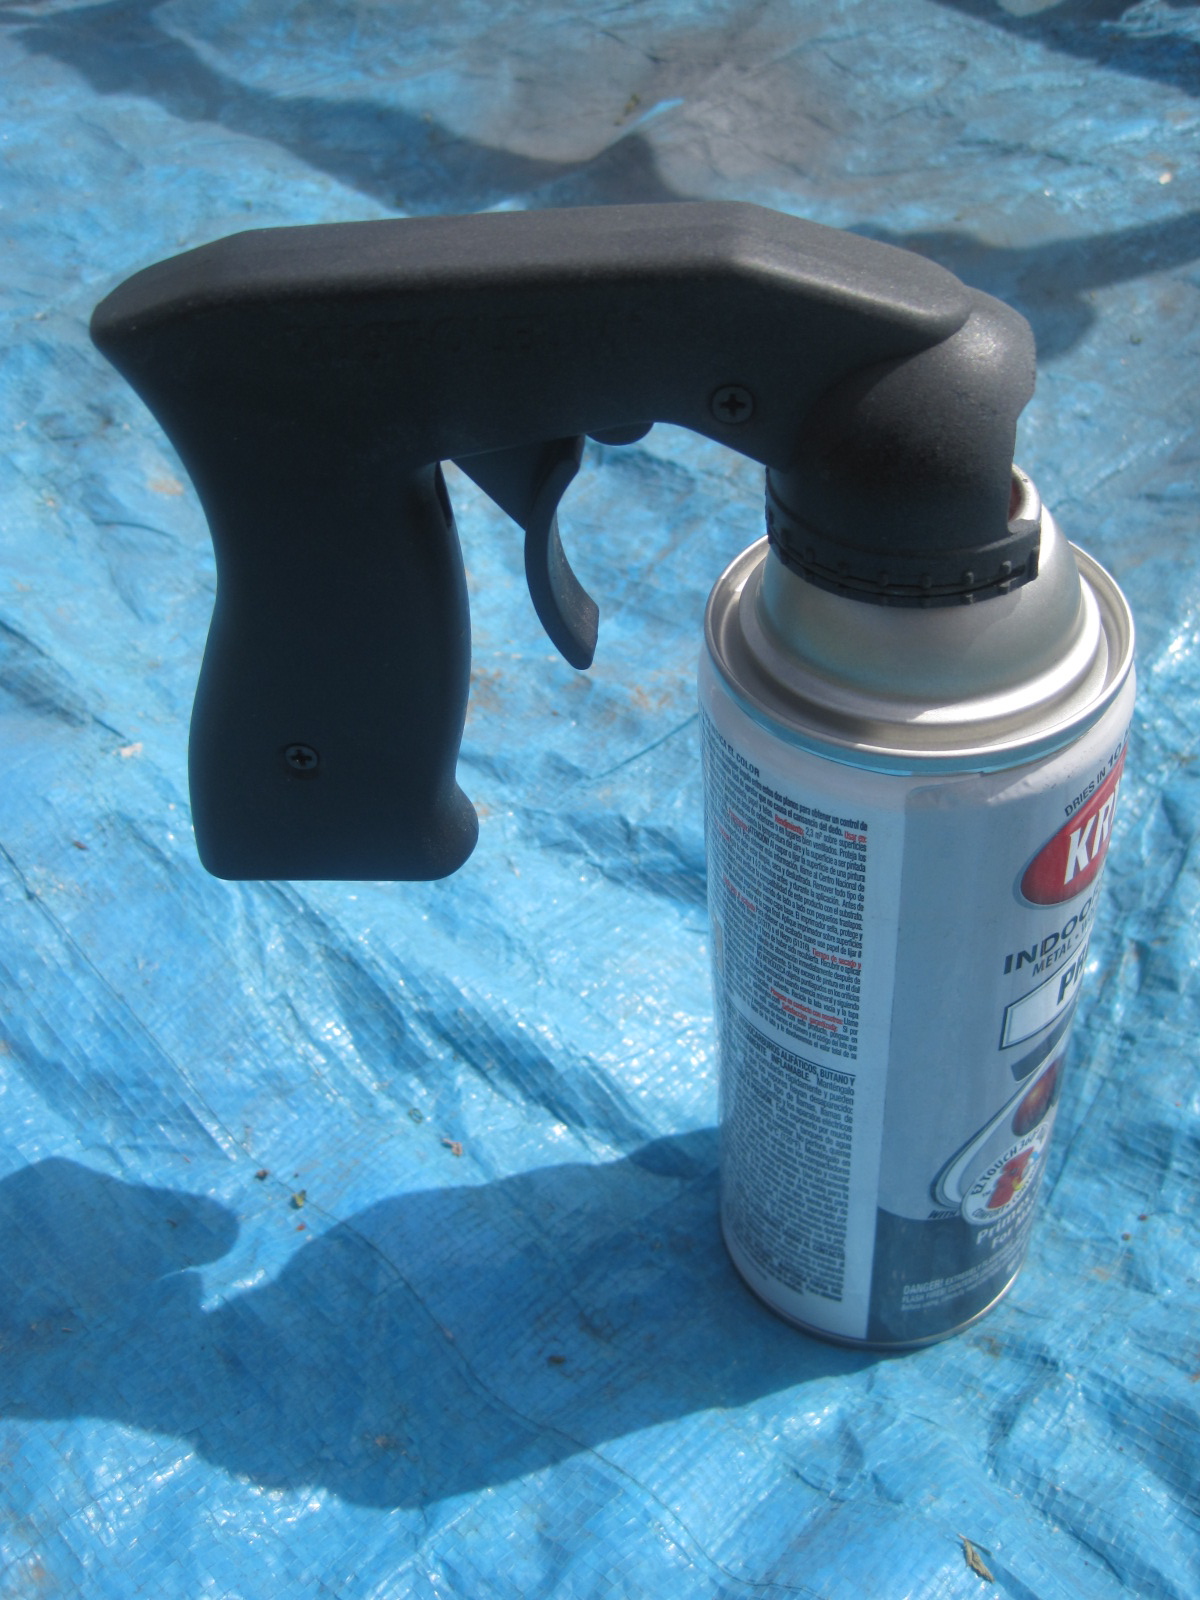
I purchased 7 cans of spray paint from Walmart along with a nifty spray grip device and spent a total of $23.72 with some paint left over.


Before


During


After


What a difference a little paint makes!


I've spray painted a few pieces of furniture in the past and have always hated the way it made my finger and forearm hurt afterwards. I will never spray paint again without one of these little guys. Well worth the $2.42.


I spent the majority of money on the rug, side table, and seat cushions from Ikea, hanging lights from Cost Plus, and pillows and a few decorative items from Ross. So, I had to get a little creative with the wood wall on the side of the patio. I had my Dad make me some wood frames that I later covered with some left over fabric I had at my house. I felt so "HGTV" asking my personal carpenter to build me something ;0) You will see later in the post what these were used for.


By this time, Gino was there to help me transfer some bright flowers into the pots for the patio.


The white plant holder was $6.99 from Ross and the other 2 were from around the yard.


Here is the complete patio after!


For the side wall I used the covered frames to hang a few buckets. The buckets can hold candles or fresh flowers and we tested the candles out at night, they worked lovely! It's a little rustic and I had to be resourceful but at least it is something =)


Here are a few photos at night all lit up.


Cost Break Down

Ikea

White side table = $19.99 / Rug = $19.99 / Green table runner = $4.99  / 4 seat cushions and covers = $10 each + Tax

Walmart

7 cans of spray paint = $2.77 each / Spray grip = $2.42 + Tax

Ross

Decorative Lantern = $6.99 / White plant holder = $6.99 / Candles on table = $4.99 / 4 decorative pillows = $7.99 each  + Tax

Cost Plus

2 strings hanging lanterns = $11.99 each + Tax

Dollar Store

Wind chimes, 2 black metal flowers, 2 lantern buckets = $5.00

The coffee table was a table we had from Ikea in our basement and were planning on selling it on craigslist. It was perfect for what the space needed so that was free.

Below are a few of my favorite pictures of some of the beautiful things fond in the yard.


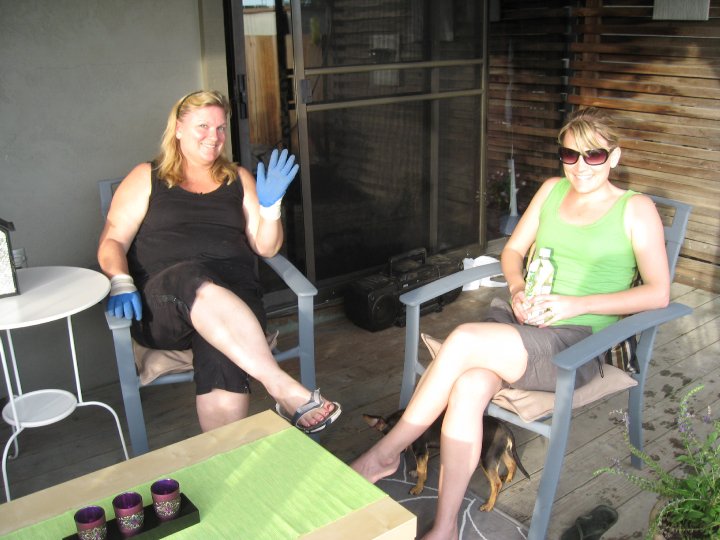
And finally my lovely Mother enjoying a break on her new patio!

Related Posts Plugin for WordPress, Blogger...